

Last month, we shared a blog detailing some of the processes of internal waterproofing and the trade secrets we use to ensure a seamless job. This month, we’ll continue this theme with a closer look at external waterproofing. Whether you’re building a basement, a balcony or even just a planter bed, good waterproofing is essential to protect your home from water ingress or structural damage—both of which can lead to costly repairs down the line. So, let’s take a look at the different types of external waterproofing and some key tips for applying them in different areas.
COMMON TYPES OF EXTERNAL WATERPROOFING
While there are many external waterproofing products, the two types that we trust the most are liquid membranes and sheet membranes. Within each of these, however, specific products will vary depending on their brand and expected use, so always consult with a waterproofing expert for advice tailored to your project.
Reinforced liquid membranes
These are virtually the same as liquid membranes—polyurethane or acrylic based paint-like substances that dry into a waterproof layer—except they’re strengthened with a cloth reinforcement. Compared to standard liquid membranes, they’re more durable and more resistant to ground movements and UV. They’re usually not as durable as sheet membranes but provide a seamless barrier that’s more appropriate for irregular surfaces. Correct application is vital so always follow the product instructions, but a typical process should be as follows:
Clean the space and ensure all surfaces are free of dust and other contaminants.
Apply a flexible tape to all junctions and around plumbing connections—this allows for movement and will reduce the likelihood that the waterproofing will crack in these areas.
Use a brush to apply a coat in these same areas, making sure to completely cover the tape. Continue the coat a few centimetres into any drainage pipes.
Use a roller to apply one coat to your surface, rolling in a single direction (e.g. vertically or horizontally).
While the product is still wet, apply fabric reinforcement to areas prone to movement or stress.
Leave to dry for two hours (or as per product instructions).
Apply a second coat, rolling in the opposite direction of your first application—if you applied the first coat vertically, apply the second coat horizontally.
Let dry for the time specified on product.
Sheet membranes
As the name suggests, sheet membranes come as pre-made sheets that can be adhered to a surface. They can be difficult to install, especially over joins, but are a good choice where extra durability is important. The application process typically looks as follows:
First, always plan ahead to ensure the membrane won’t be exposed to UV for longer than recommended—this varies by product but is often a few days.
Repair any cracks or damage then clean and ensure the surface is relatively smooth.
Apply a primer if product requires it.
Apply the sheet membrane according to the product instructions—this varies and can include an adhesive, heat or water.
Ensure there are no air pockets or wrinkles, and any joins overlap by 10-15cm.
Apply a sealant or tape to all joins and edges.
Protect the membrane with Corflute boards, or similar.
WHERE AND HOW
Now that we’ve covered the general installation processes, let’s look at some scenario-specific tips.
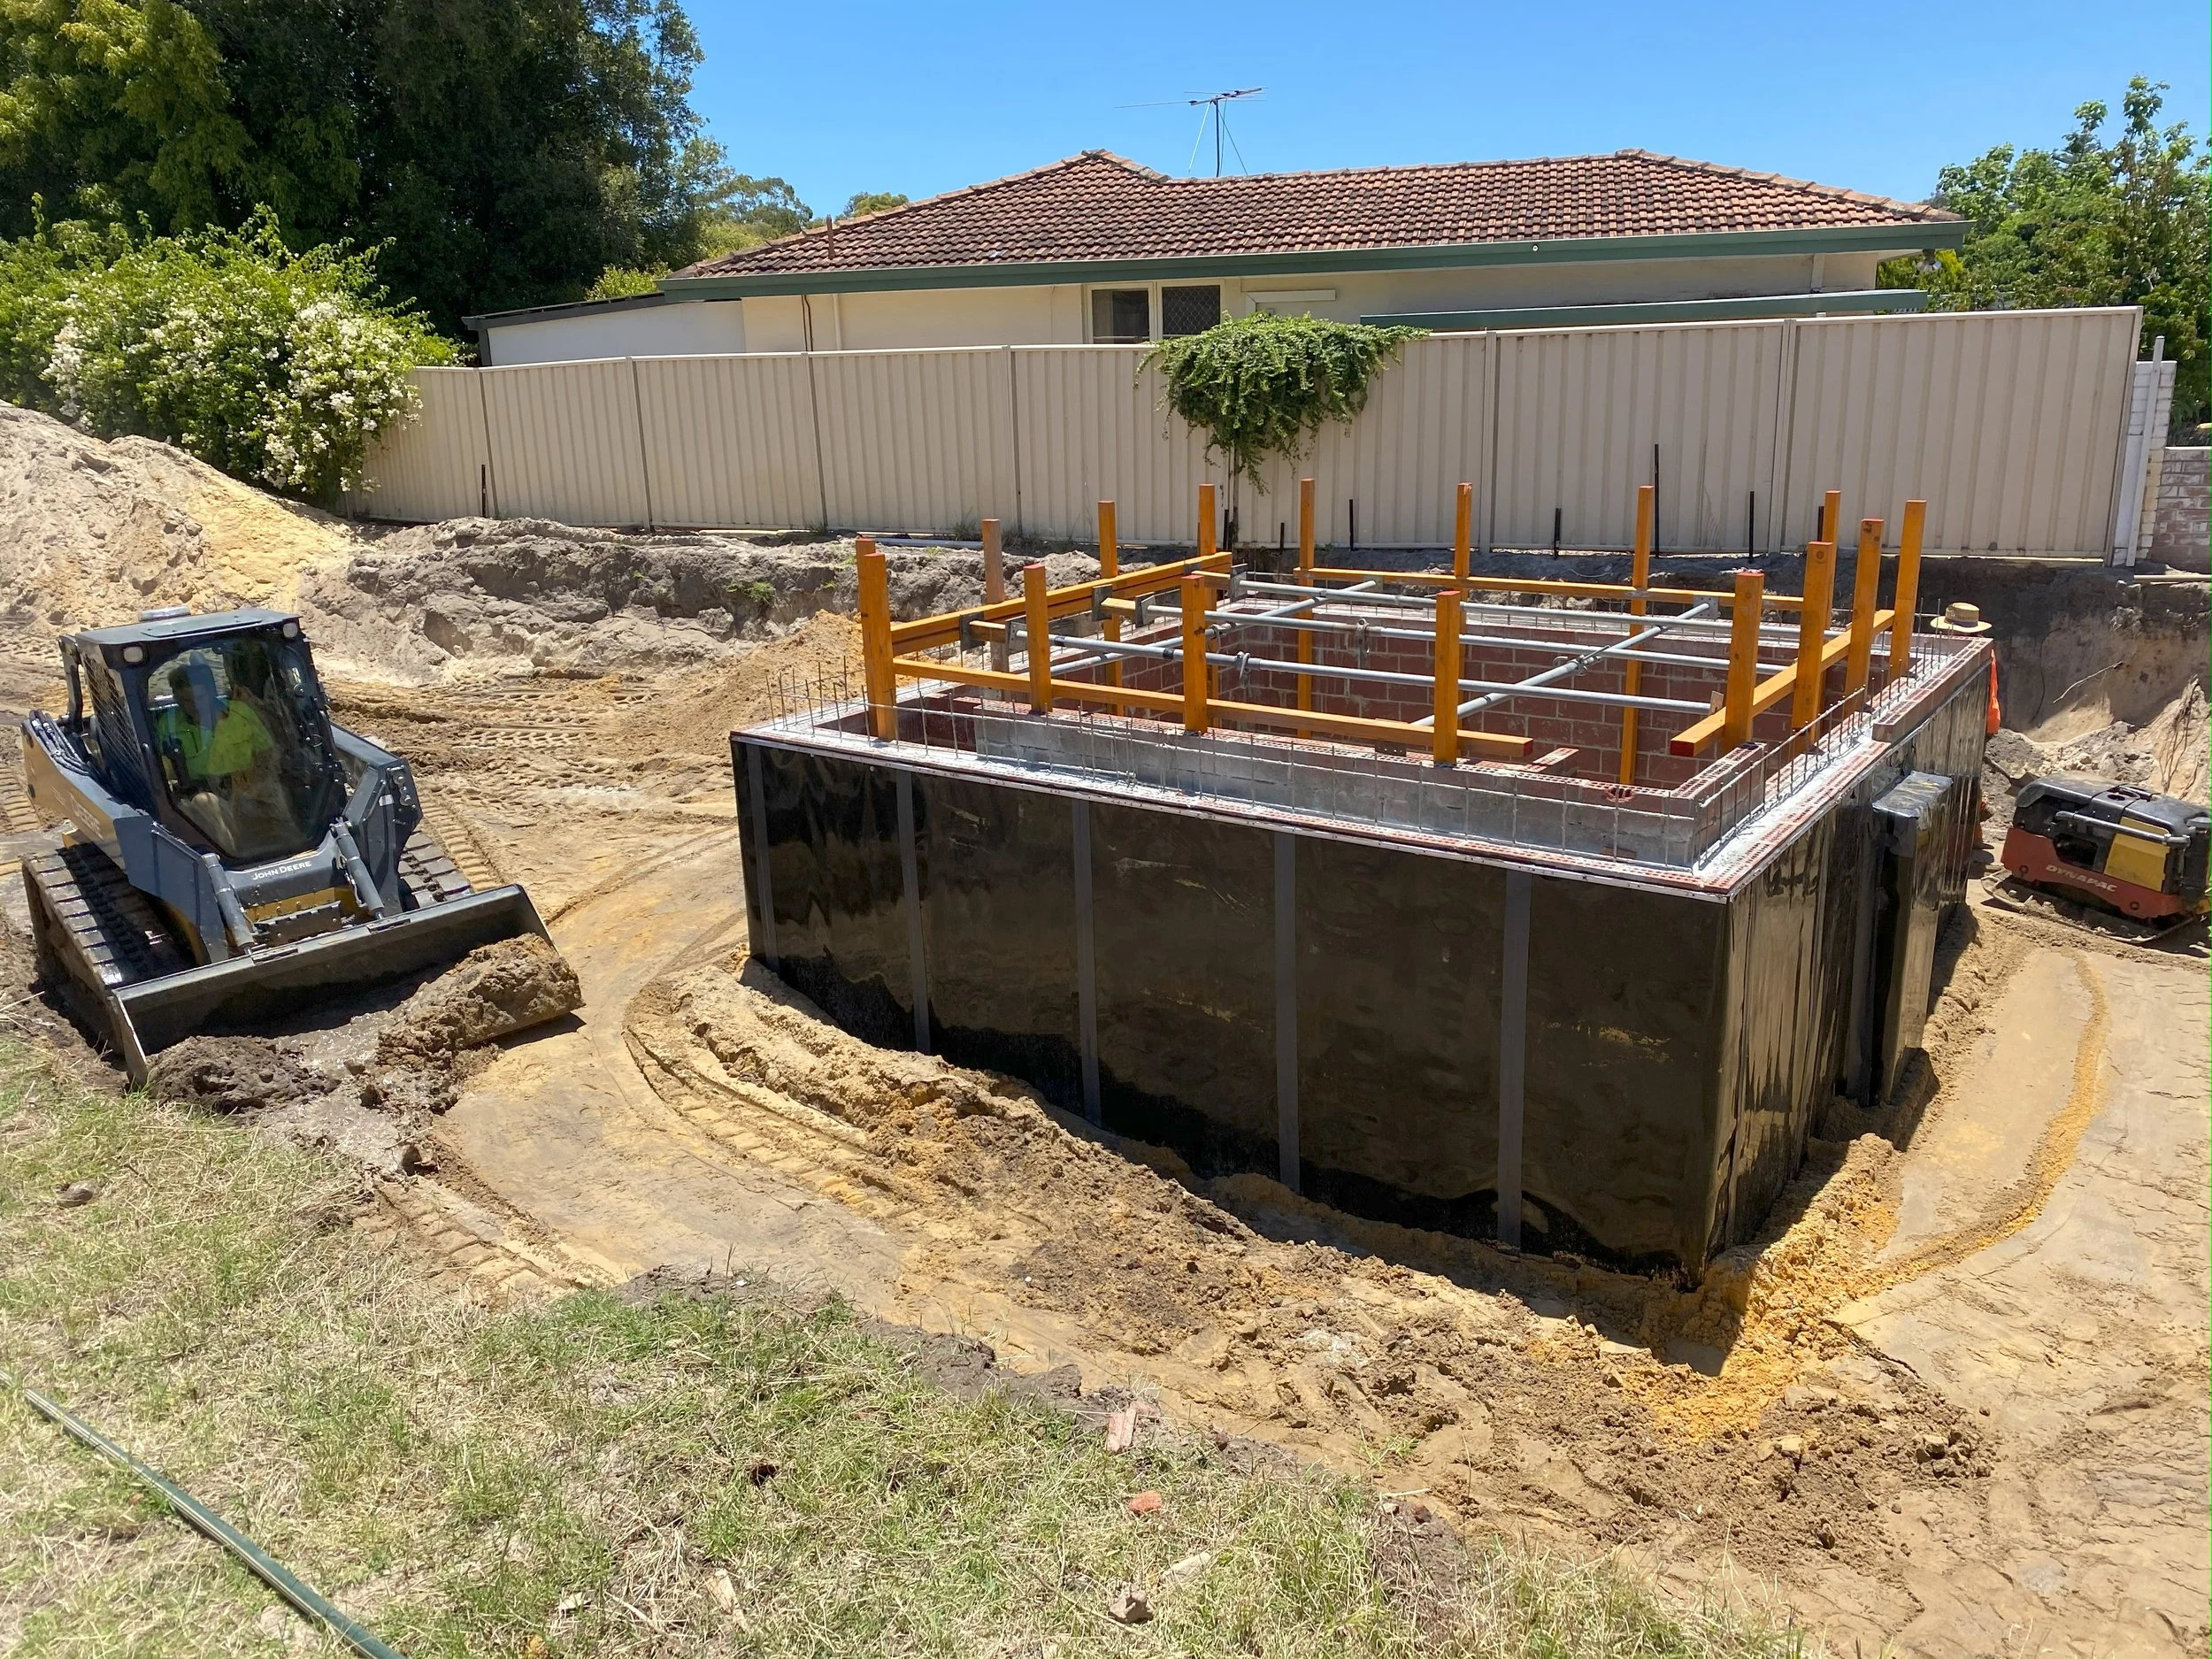
Basements
We prefer sheet membranes in these areas as they provide better protection against water ingress and are more resistant to movement and abrasion. We typically use Tremco Paraseal LG.
Ensure there is at least a metre of clearance around the basement structure for trade access.
As basement membranes are difficult to access later, it’s incredibly important they’re applied correctly and not damaged.
Backfill should be completed in horizontal layers of 400-500mm increments and highly compacted to reduce future ground movement.


Retaining walls
If the wall is part of your home’s structure, we recommend using a sheet membrane. Otherwise, a liquid membrane like the Wet-seal™ Enviro-coat GS 220 will be suitable.
Apply the membrane to the side of the wall that will be in contact with soil.
As with basements, ensure there is adequate space next to the wall for access during application.
Backfill should also be done in compacted horizontal layers of 400-500mm increments.
Fill soil so it sits level with the top of the membrane.
For additional protection against ground movement, Corflute boards (or similar) can be applied after the waterproofing has dried.


Balconies and terraces
We usually opt for liquid membranes here, as they offer better flexibility account for temperature-related expansion and contraction.
As these areas are typically more exposed to the elements, be sure to choose a product with high UV resistance.
Our go-to is Wet-seal™ Enviro-coat DS 420.


Planter beds and rooftop gardens
Like retaining walls, we typically use liquid membranes.
The key here is to remember drainage—ensure the base of the bed or garden slopes towards a drain and include an overflow outlet in case of heavy rain.
Extend the waterproofing coat a few centimetres into any drainpipes to ensure a proper seal.

When done well, waterproofing is something that you’ll barely need to think about after it’s applied. If it’s done poorly, however, there’s a good chance you’ll need to think about it—and the complications of repairs—much sooner. For this reason, we always recommend bringing in an expert, but hope this blog will give you the knowledge to stay in the loop and make informed decisions during your build.